Showing posts with label Digi-scrap. Show all posts

Saturday, March 6, 2010

Today's project, Brenna's scrapbook

Today the computer seems to be functioning at a reasonable speed, so I was actually able to work on my baby girl's book. 5 months down, 7 to go!

By the way, any of you avid digital scrapbookers might be interested in where I find all my paper...FOR FREE! I always go to digiscrapdepot.com and look for free kits! Some of them are really REALLY awesome. I'm guessing my computer is so slow from all the kits I've downloaded! It's my own fault! haha. Anyway, enjoy.


Monday, February 8, 2010

Brenna's first year...scrapbook project!

This is why I have been such a bad blogger lately! Here's a sneak peak at the 47 pages I have already done! Mom, if you want me to post more, I will! If you want to save them to your computer so you can print them, just CLICK on the image, right click, and select 'save image as.' Then it should be better quality!


Just kidding, I forgot these are square shaped. I can order you a book though if you want, mom. Just let me know if you are interested. You may just want to wait for when I put together more pages of the whole family...

Monday, December 7, 2009

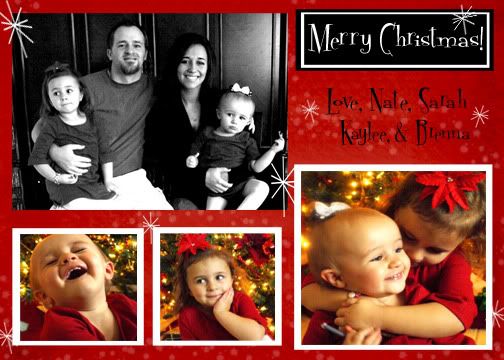
Merry Christmas!

So....did anyone wonder if something happened to me? Well it did! I got pregnant...3rd child! For 6 weeks I was doing well to get out of bed everyday. I have slowly regained function, but then my husband's laptop crashed. Like totally crashed. He is in school, so he must use a computer. That leaves me as a last priority. Plus, our desktop has become rather S...L...O...W... despite our efforts to get rid of spyware and clutter.

It is all well and good for me, because like my food aversions, I have also experienced a computer aversion...or maybe it would be best described as a desire for a more simplistic lifestyle while carrying this baby, taking care of my 2 others, and working to support my family while my hubby finishes his master's degree. That leaves only my devoted readers to suffer.

With that being said, I want everyone to rest assured that I am well, and plan on fully enjoying the holidays! My entire family wishes every wonderful person who reads this blog a VERY Merry Christmas!


Friday, August 14, 2009

Zoo kit samples!

Ok, here are some samples from the kit I made! Click here if you want to download it so you can decorate your own zoo trip!


Wednesday, February 25, 2009

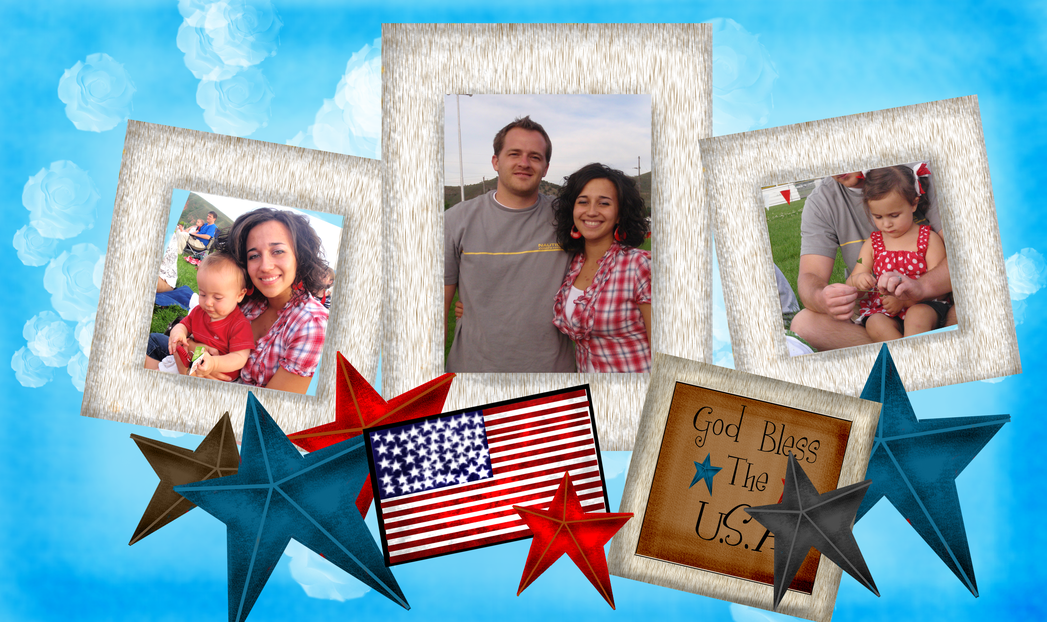
4th of July digital scrapbook kit...freebie!


Look look look at what I learned how to do! I know, it's very basic, but a new little hobby of mine! This is my very first digital scrapbook kit with my OWN elements! Wooohooo!!!


Here are some very basic examples of how you can use my elements.


Cute huh?


And here's the kit! Enjoy decorating your 4th and 24th of July pictures!


****Please link back to my blog if you are using these elements to decorate a web page. Otherwise, feel free to use them however you want to!

Trip to the zoo...digital scrapbook kit...freebie

Hmmmm....what is digital scrapbooking?

Well, in a nut shell, it's scrapbook elements, only they're digital. You can download kits for free from many sites. I have just started creating my own, and I throw them out here and there!

What you do is:

1) You download your kit, whether you pay for it or not {digiscrap depot has THOUSANDS of free options}.

2) You unzip the file.

3)You open the kit in your photo editing software (I use Photoshop). Here is a great tutorial on decorating your own blog background.

4)You use your software to dress up your pictures! You can order prints through various printing sites online! {Snapfish, Kodak, even Walmart}


Here is another kit! I'm really happy with the way this one turned out. Click HERE TO DOWNLOAD THE KIT...it's free!

***If you are using this kit to decorate your blog, please link back to me! Otherwise, use it however you want!

Click here to learn how to unzip a file once it's downloaded.

When I get around to using this kit for MY kids' recent trip to the zoo, I will share.
Have a great day!

Sunday, January 25, 2009

Adding an image to divide your posts

I always love to learn new tricks in blogging. This one is one of my favorites! You know how you see those cute images that divide the blog posts? You can add one to yours!

First of all, get an image. One that's flat and wide. I made my own on photoshop. If you need more info on how to do this, email me {sarah@mrsdlightful.com}.

Here is my image.



Ok. First thing, go to photobucket.com and create an account if you don't have one already.
Upload your image.
Click 'edit' below the image.

Now, go to your blog. Click customize. Click the layout tab. Click 'edit html.'
Scroll down to where you see something SIMILAR to this, especially where I've highlighted in red.

/* Outer-Wrapper
----------------------------------------------- */
#outer-wrapper {
background-image:url(http://i388.photobucket.com/albums/oo326/sjbringhurst/BVSfleurspaper01.jpg);background-repeat:repeat-xy;
width: 955px;
margin:0 auto;
padding:10px;
text-align:left;
font: $bodyfont;
}

#main-wrapper {background-image:url(http://i388.photobucket.com/albums/oo326/sjbringhurst/BVSfleurspaper02.jpg);background-repeat:repeat-xy;
width: 700px;
margin-left: 10px;
padding:5px;
float: left;
word-wrap: break-word; /* fix for long text breaking sidebar float in IE */
overflow: hidden; /* fix for long non-text content breaking IE sidebar float */
border: 2px solid #804000;
}

Now. Where it's highlighted above in purple, REMEMBER that number.
Now go back to your photo that you downloaded to photobucket. Remember you are in the editing screen. Where it says 'resize,' change the number to whatever it was in your html code of your blog. Then choose to replace original.

Go back to the 'edit html' area of your blog, same as before.
Scroll down to where you see this.

/* Posts
-----------------------------------------------
*/
h2.date-header {
margin:1.5em 0 .5em;
}

.post {
margin:.5em 0 1.5em;
border-bottom:1px dotted $bordercolor;
padding-bottom:1.5em;
}
.post h3 {
margin:.25em 0 0;
padding:0 0 4px;
font-size:140%;
font-weight:normal;
line-height:1.4em;
color:$titlecolor;
}

Replace the highlighted code with this:


.post {
background: url(direct link);
background-repeat: no-repeat;
background-position: bottom center;
margin:.5em 0 1.5em;
border-bottom:0px dotted $bordercolor;
padding-bottom:5.5em;
}


Go back to your edited image in photobucket. Copy and paste the DIRECT LINK to the image.
Paste it in the code above where it says direct link.

And there you go! A cute little individualized divider! Now you've got the cutest blog around!