Showing posts with label Crafts. Show all posts

Monday, December 19, 2011

What I've been up to...

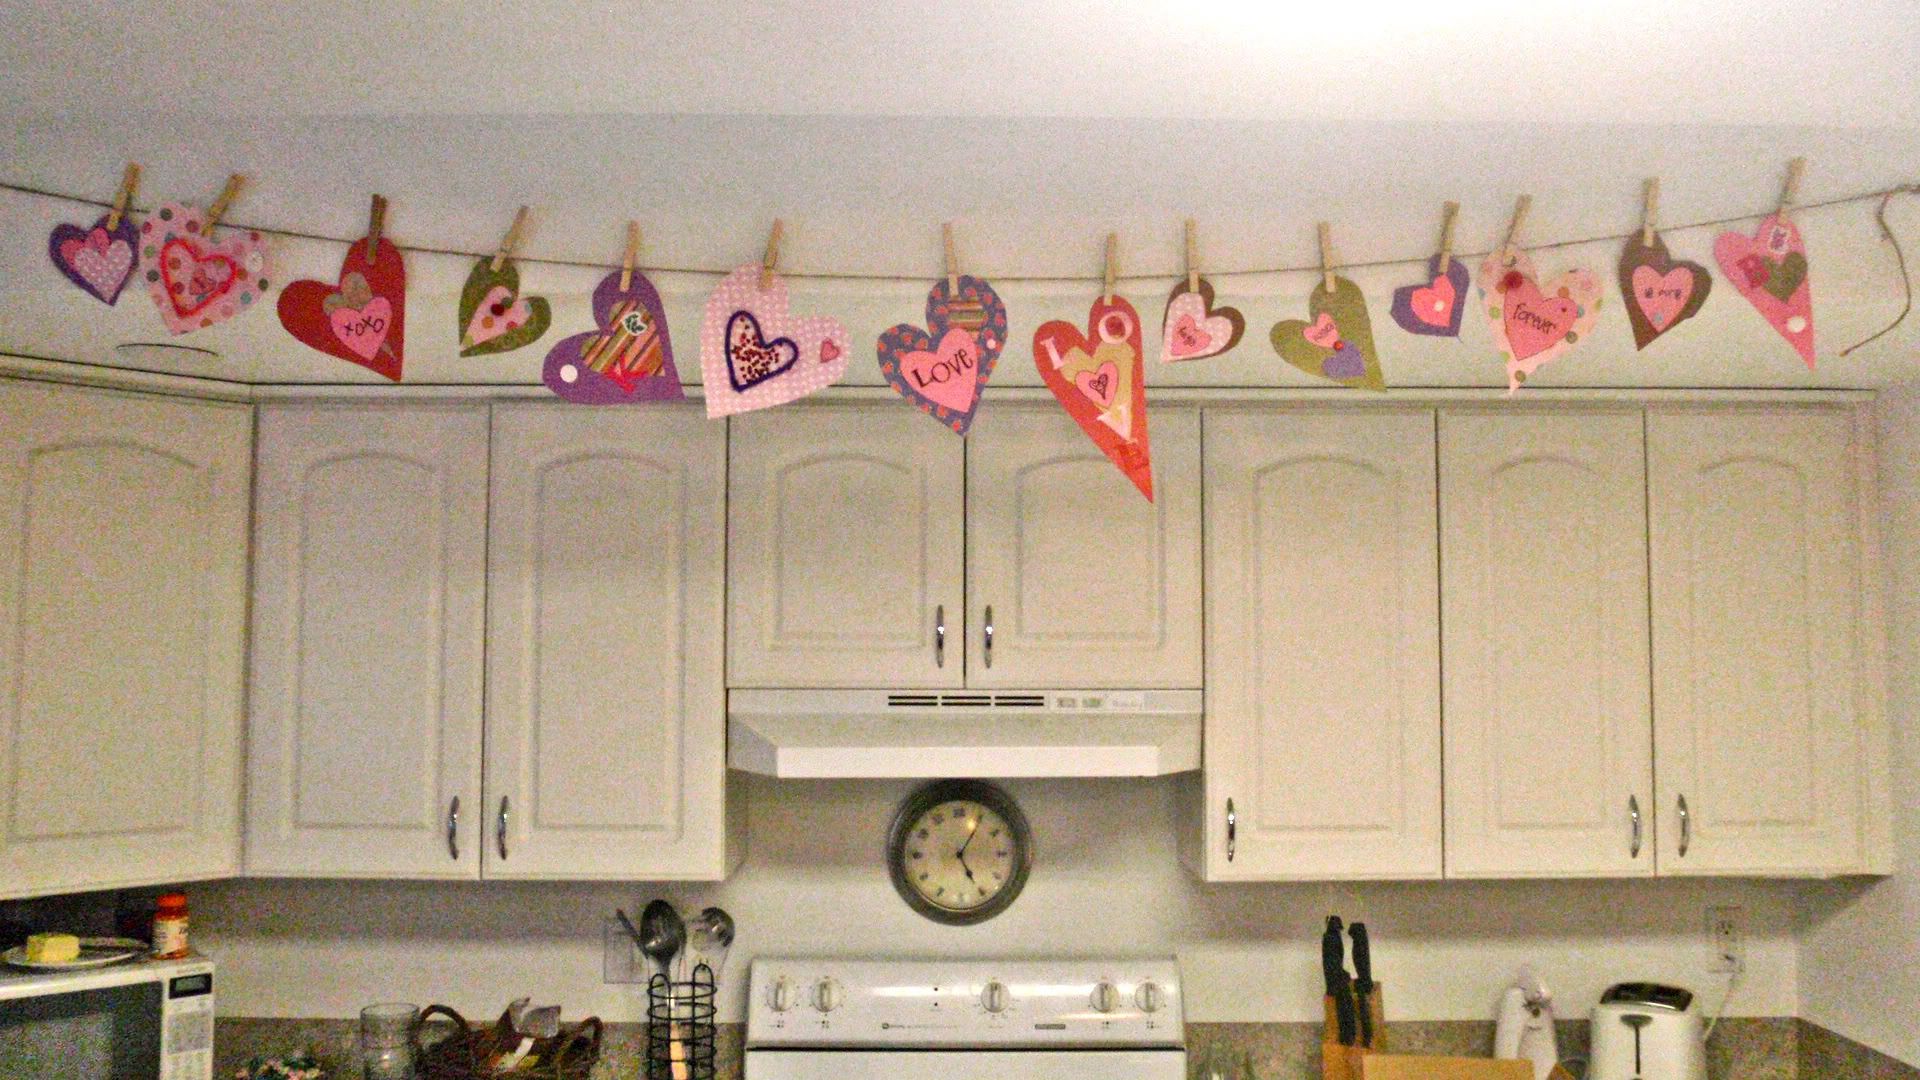
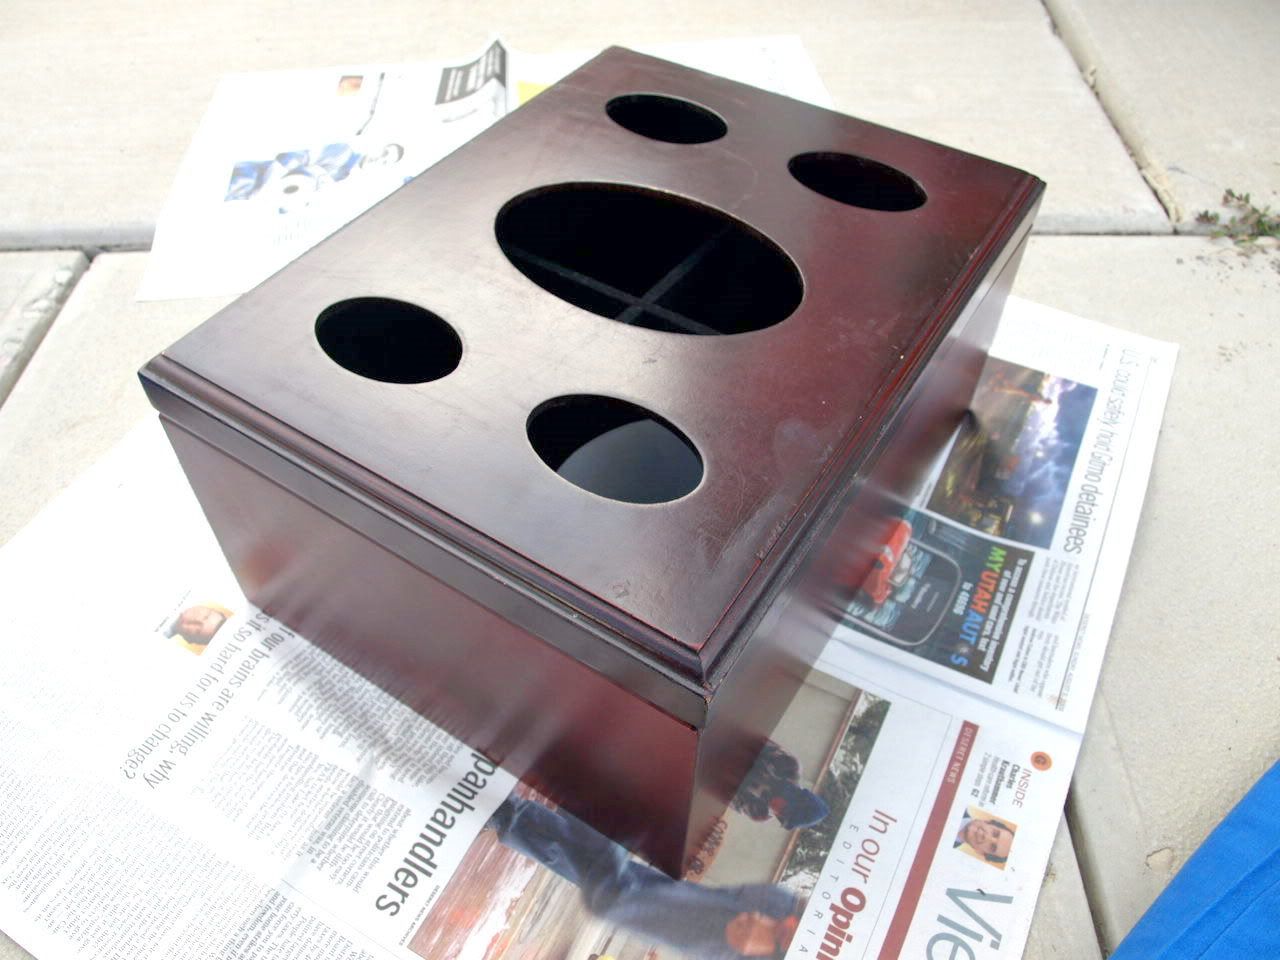
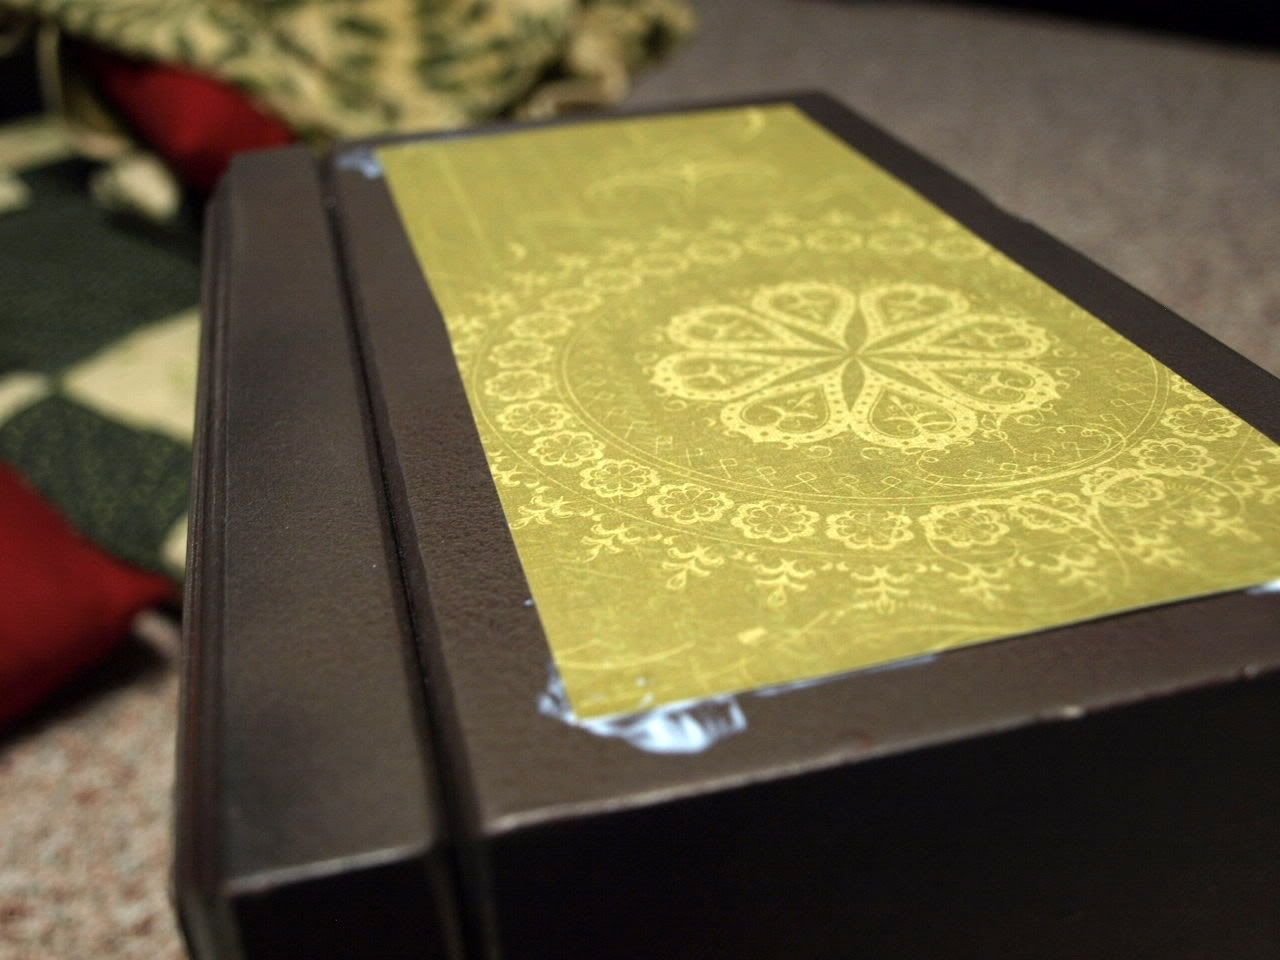
After I put the kids to bed on certain designated nights, I would sneak out the door to Liz's house to work on these:

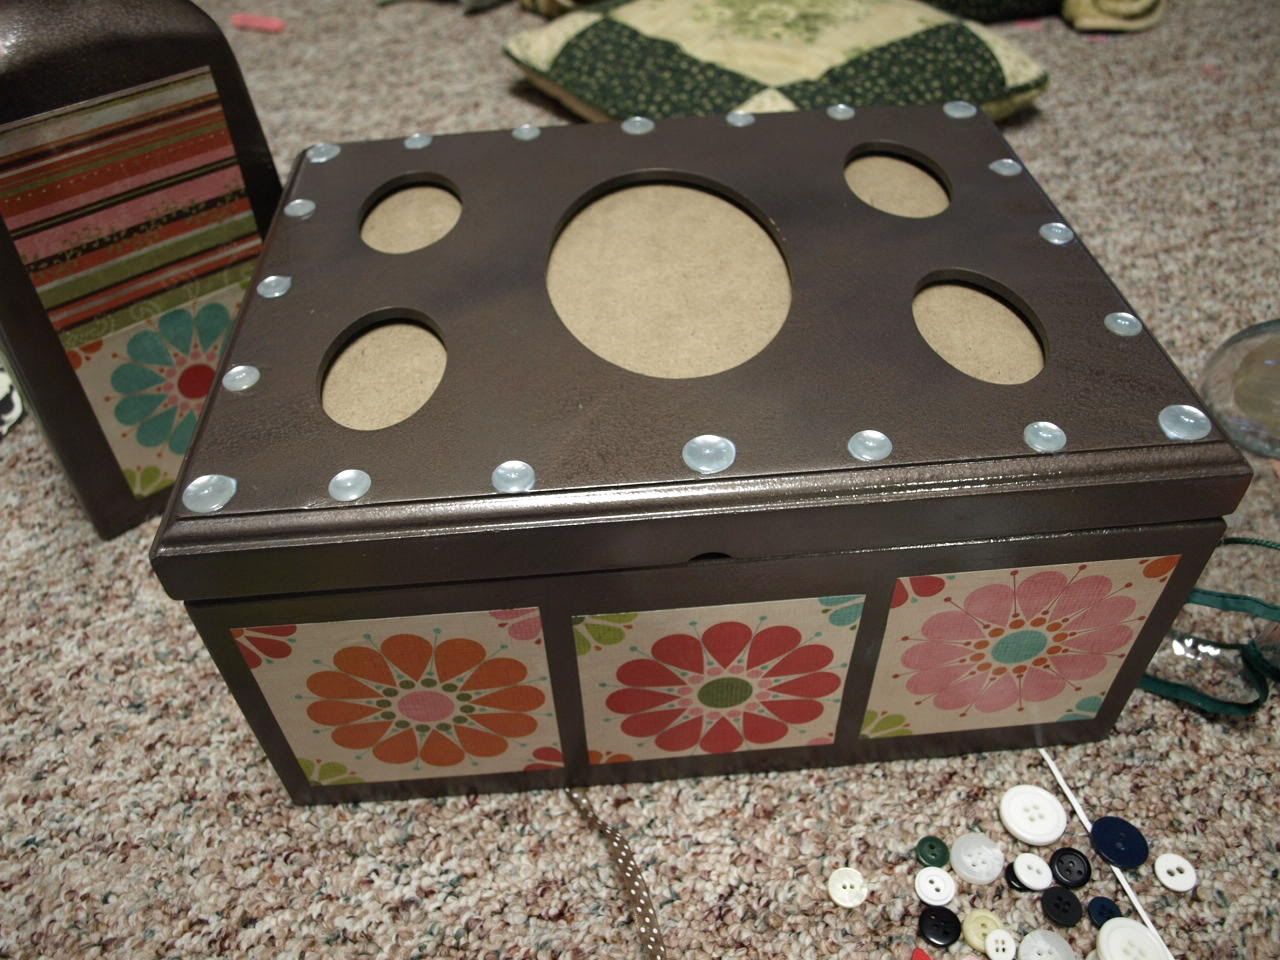
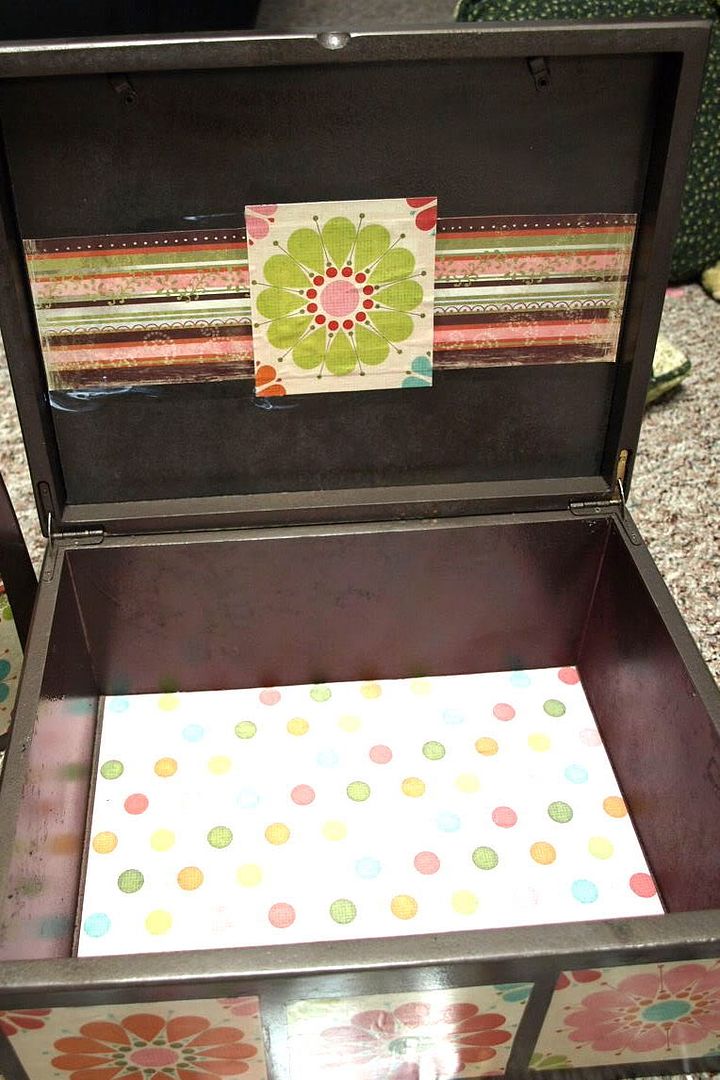
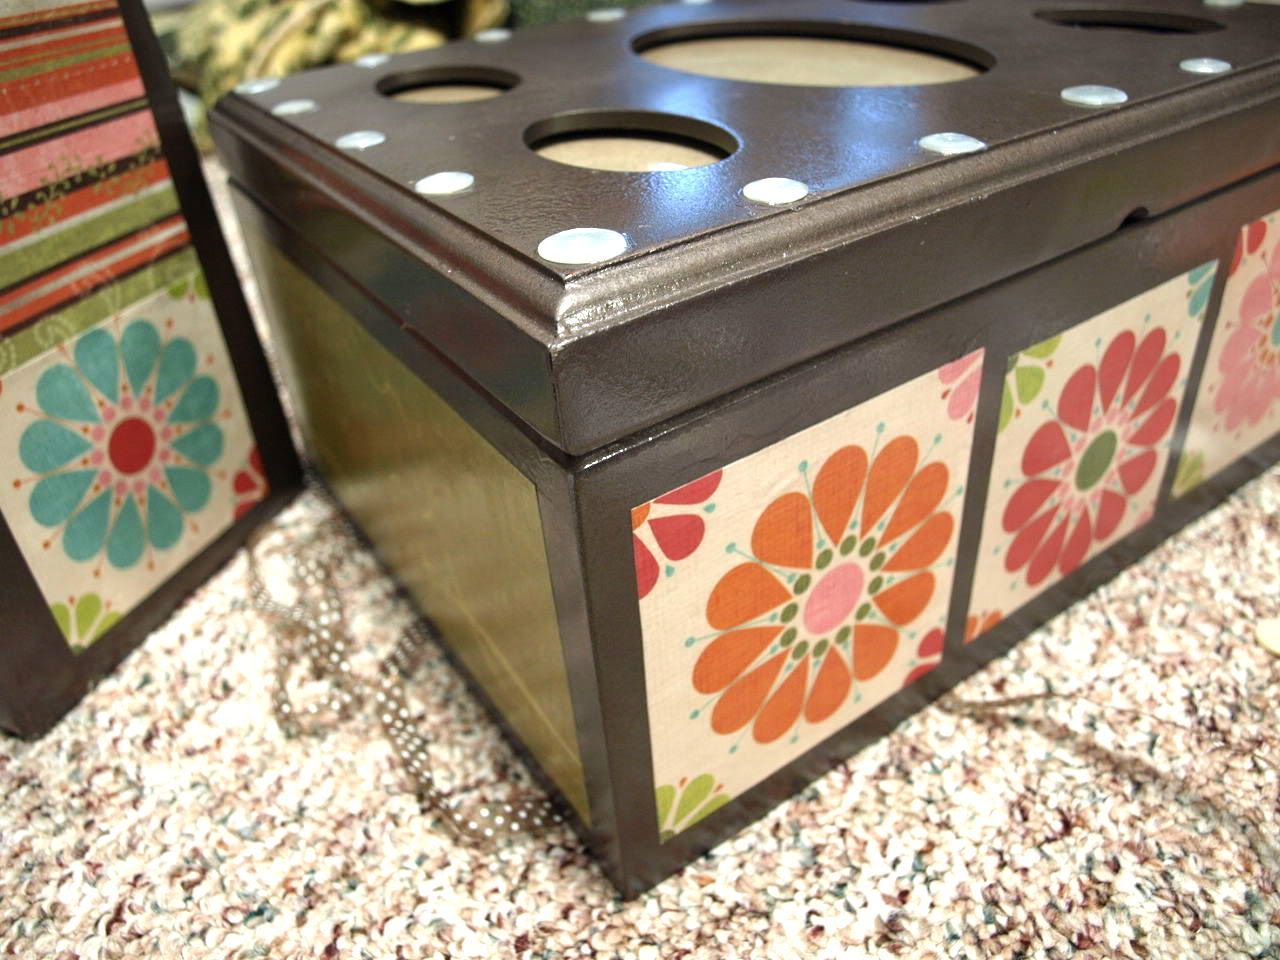
'Princesses in a box.' This was Liz's genius idea. They were SO much fun! No, I did not carve the wood. But I did paint them. They are Christmas presents to the girls, from me!


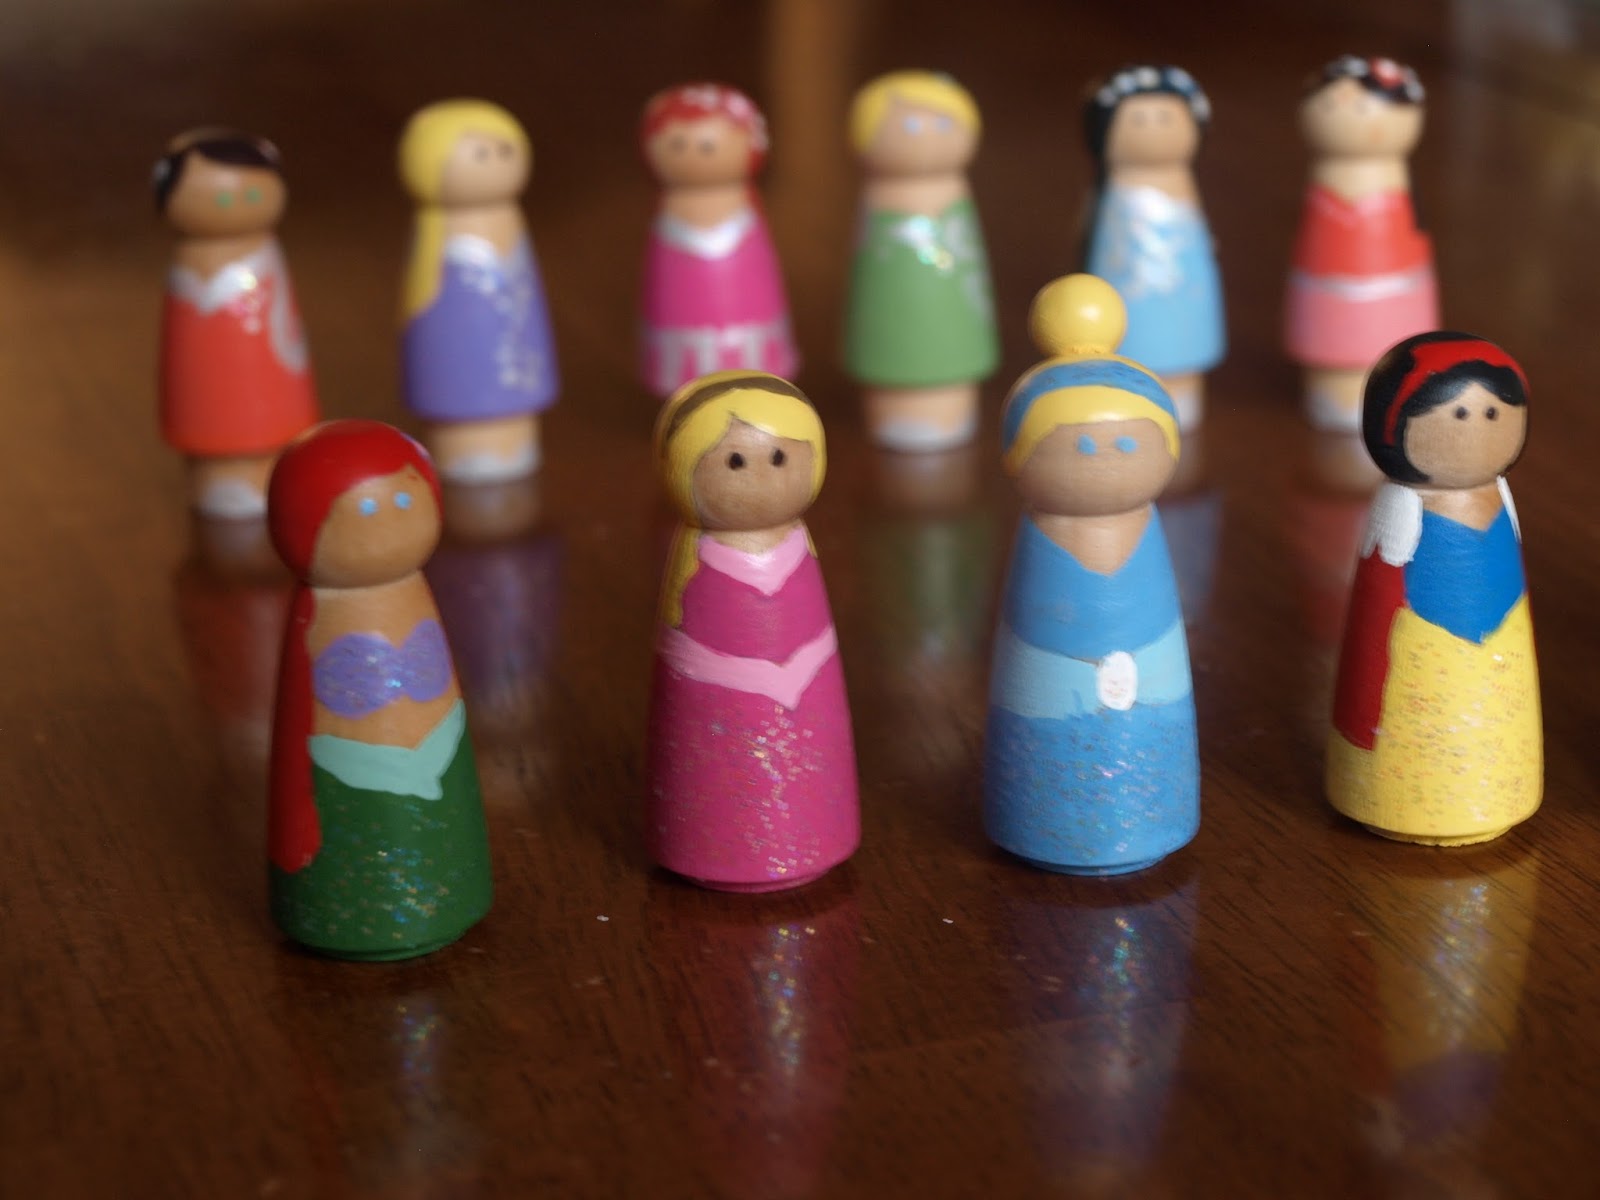
Aren't they adorable? Rapunzel was my favorite.

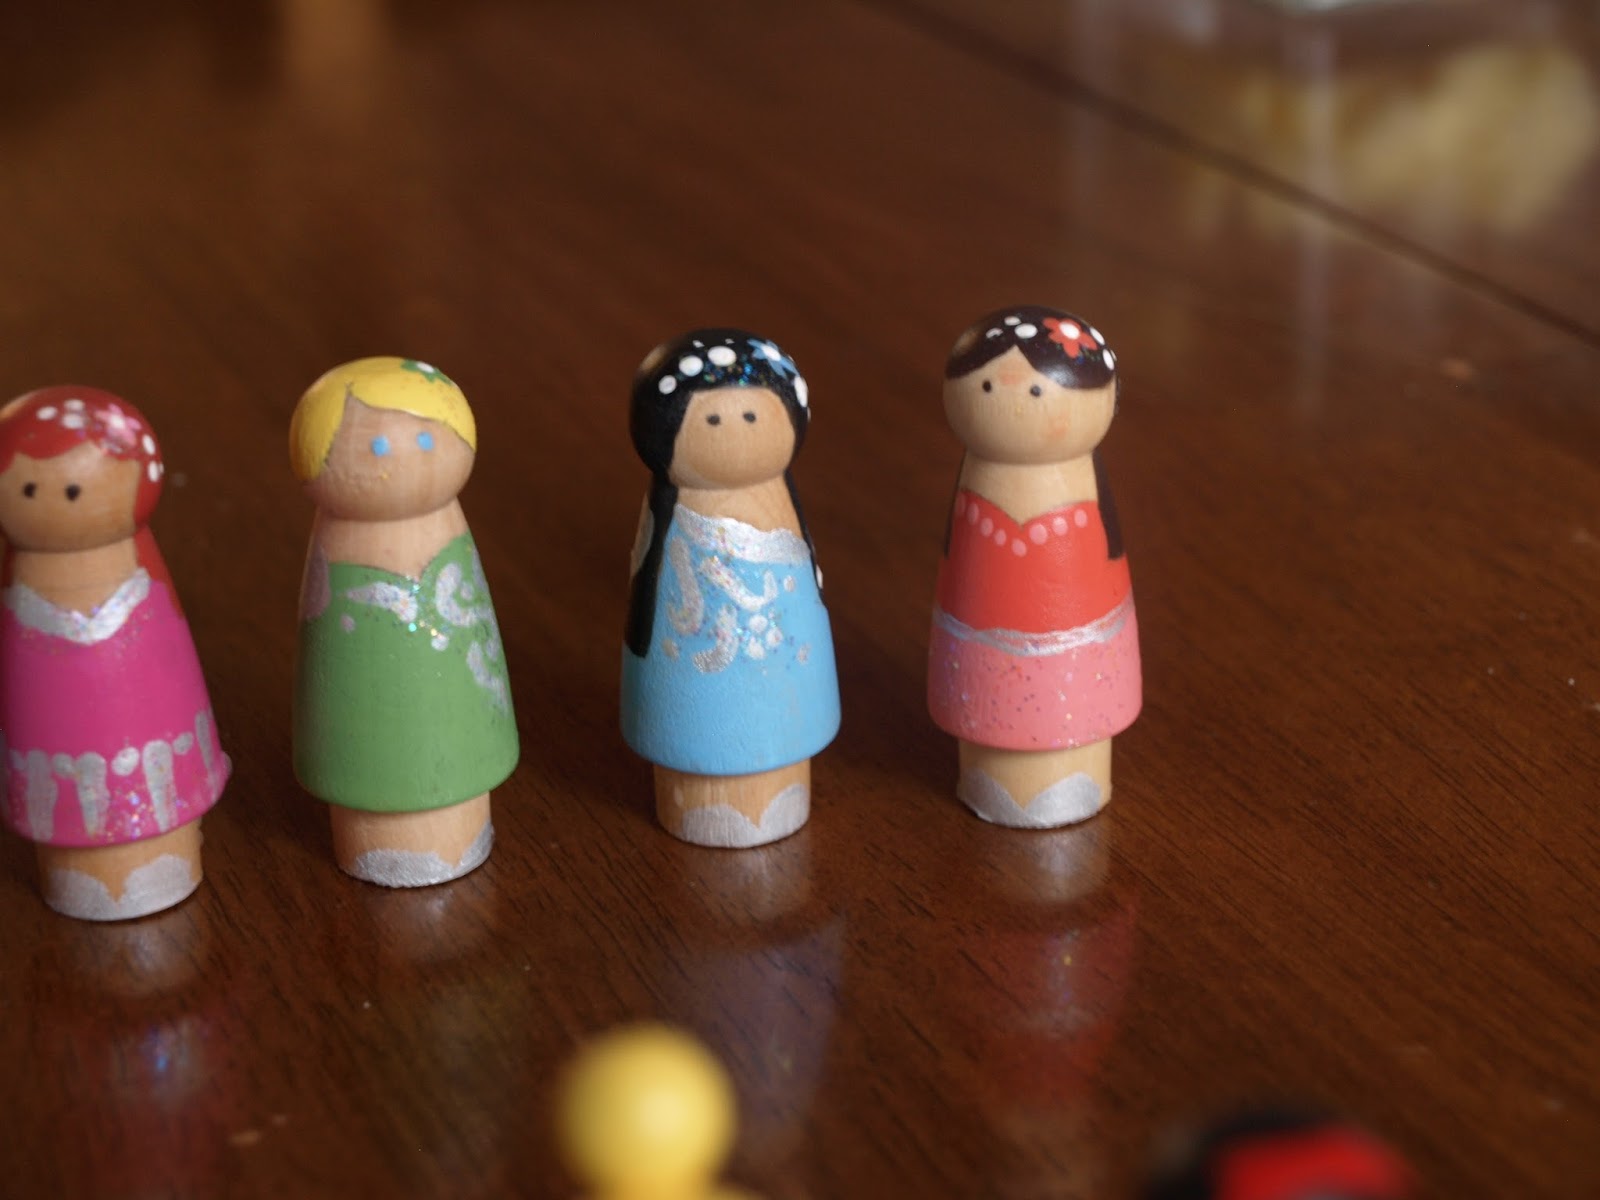
These ones are fairies. See the wings?


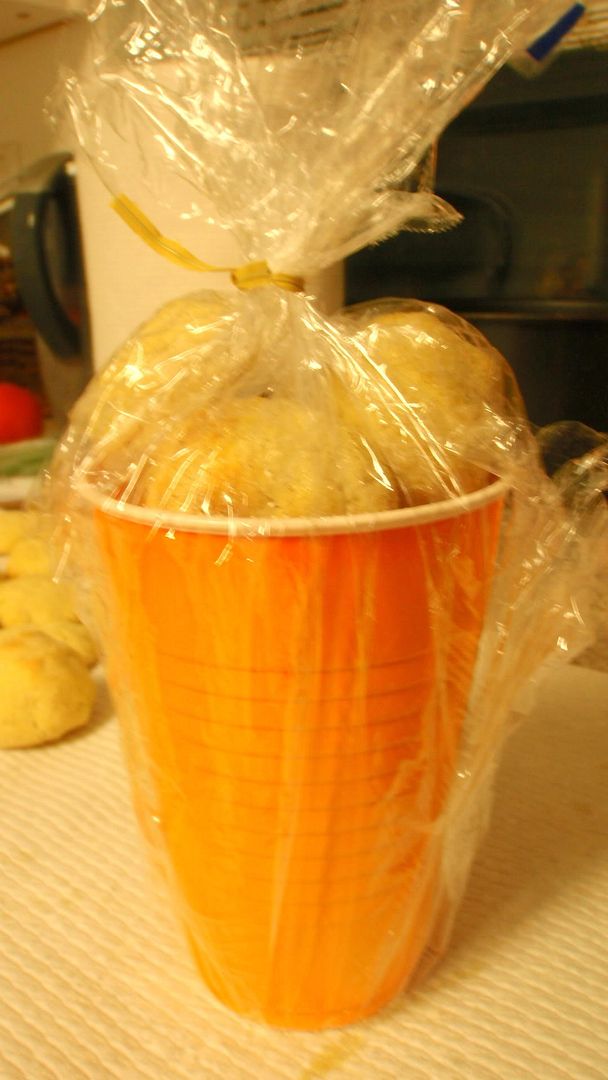
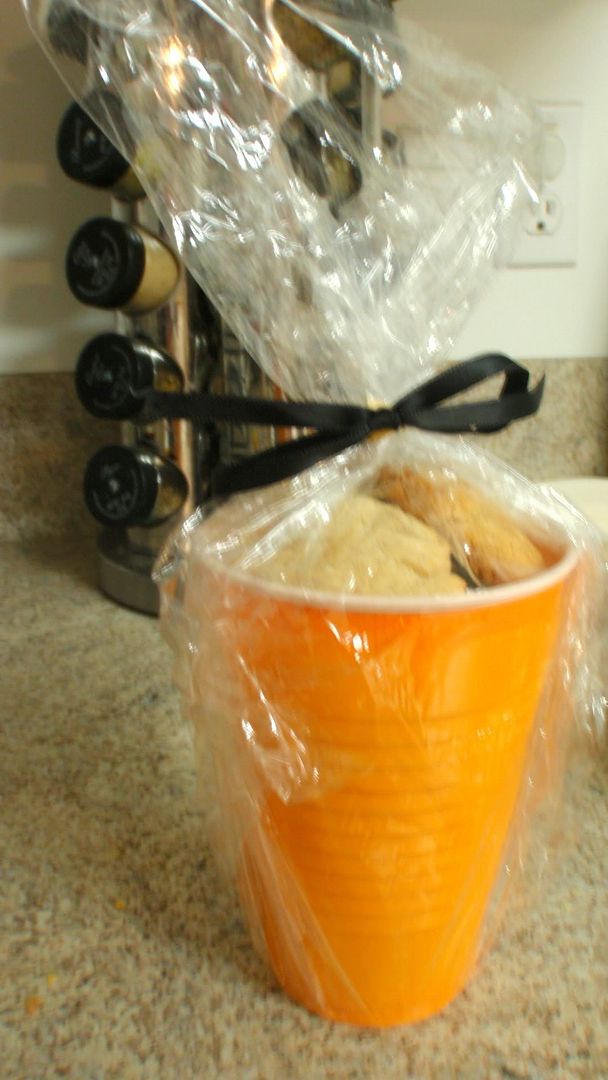
Here they are all snuggly wrapped. I can't wait!


Tuesday, March 16, 2010

Mod Podge Picture Frames....for a boy this time!

I made these frames to match the crib bedding that I bought for Junior. I am having SO much fun with all the 'sports ball' stuff! Look, not an ounce of glitter or polka dots. Crazy!!! I'm loving it.
We're also selling these, so if you want me to make you some, I will!


Monday, March 15, 2010

Princess Snow White Tutu

Remember how I mentioned I was going to be selling stuff with my friends Chantele and Chaleese? Here is one of our projects. I LOVE these 'princess' tutus! I have had SO much fun making them for my girls. If you are interested in buying one, go to the BLOG to find out some prices. I don't know, I think it's a cute idea for Halloween, dress up, birthday presents, etc.

And now I present to you....SNOW WHITE!


Wednesday, February 3, 2010

Love One Another FHE

{This was originally posted on Sundae Secrets.}


I just had to post this...I used Devyn's fun family home evening tonight with my girls...and along with creating a loving home, we also got festive! Click here for her download-able Love One Another FHE!

We just cut up a whole bunch of different sized hearts using different types of scrapbook paper and decorated them! Of course, using Devyn's template! Then we decided we were going to make our own banner to hang in the kitchen so we could all remember what we learned. And now, you get to enjoy some cute pictures of us having fun!


My kitchen is STARK white! If it was my house, I would paint. But the point is, it looks a little less drab with our hanging heart banner!

Monday, October 12, 2009

Phantom Halloween Ghost....snickerdoodle balls

I was so excited when we got HAUNTED! The game is that when you are 'haunted' you must 'haunt' three other families with a treat within 3 days. For our family night, we went and doorbell ditched (with the ghost) 3 families. My 3 year old had huge eyeballs the whole time, and kept losing her shoes! Both of our hearts were pounding with excitement! And my hubby did a great job keeping the car looking inconspicuous. I only hope the neighbors we haunted won't read this post and find out it was us!!!

I decided to make these snicker doodle balls. It's just sugar cookies, only you roll them up in a ball and roll them in sugar/cinnamon before baking. They look like this when they're done.

I put them in an orange cup and wrapped it with plastic wrap (didn't have celephane on hand), then secured with a tie.

Then I added some black ribbon.


And attached the ghost!

Here's what the ghost says:

You've been haunted by the Halloween Phantom Ghost! You have 3 days to haunt 3 families (that haven't been haunted.) Place this copy on your door or in a window. Make 5 copies of this ghost. Place it with a goodie, and Happy Haunting! Happy Halloween!


We delivered these for family home evening. Kaylee LOVED it!

Tuesday, August 18, 2009

Flower vase and treasure box makeover!

{Sigh} I do love makeovers. My sister-in-law's birthday was yesterday. What a wonderful excuse to get a little crafty!


Here is victim #1. A vase. A great thrift store find.


First step, spray paint with rustoleum.


Then add some color with scrapbook paper, plastered on with gloss-luster mod podge.


Here's the back. I love the flowers!


And here's the front. This turned out perfect for stem flowers!


Ok, victim #2! Another great find from a thrift store.


Here's what the inside looked like. Ewe.


Same thing as the frame. A layer of rustoleum inside and out, and some friendly scrapbook paper and mod podge. This is the front, again with the cute flowers!


The back!


The side. Don't worry, the mod podge disappears as it dries.


I embellished the top with fancy buttons. I love how you can put your own in your own pictures to decorate the top of this box!


This is the inside. The inside of a treasure box MUST have polka dots!


Aw, look how they match!


TA DA!!! Happy birthday Cam!